Showing posts with label valentine crafts. Show all posts

Thursday, February 14, 2013

A very LOVEly Valentine's Day

Happy Valentine's Day! Yesterday Mr Bee and I celebrated Valentine's Day without kids, so today I was able to focus entirely on having fun with the kids while Mr. Bee worked (poor man).

Our day has been filled with a variety of activities and fun-filled adventures. And let us not forget candy! There has been plenty of candy.

The other day we made our Love Goggles in preparation for today. Toddler Bee didn't know what they were for, but he loves binoculars and any reason to make some. They're very easy to make: all you need are toilet paper rolls, paints, and decorations (we used tissue paper, craft paper, and glitter).

This morning, we used a red paper plate to make Valentine's hats. You could decorate these if you wanted, but ours were already red so that seemed perfect.


Now, you're ready for a scavenger hunt!


I cut hearts out of craft foam and taped Hershey's kisses to them. Then, when the kids were playing upstairs, I hid them along with loose kisses around the downstairs. Scavenger hunts are always wildly popular with the Bee Children and today was not an exception. Toddler Bee was running around finding candies and whooping in excitement. Baby Bee hid and ate kisses while everyone else was busy with the hunt. She's a sneaky one, that baby.

The last thing Toddler Bee found was a decorated shoe box filled with treats. I had plans for this, too, but time started to run a little low...Maybe it will make another appearance at a later date.


So much candy!


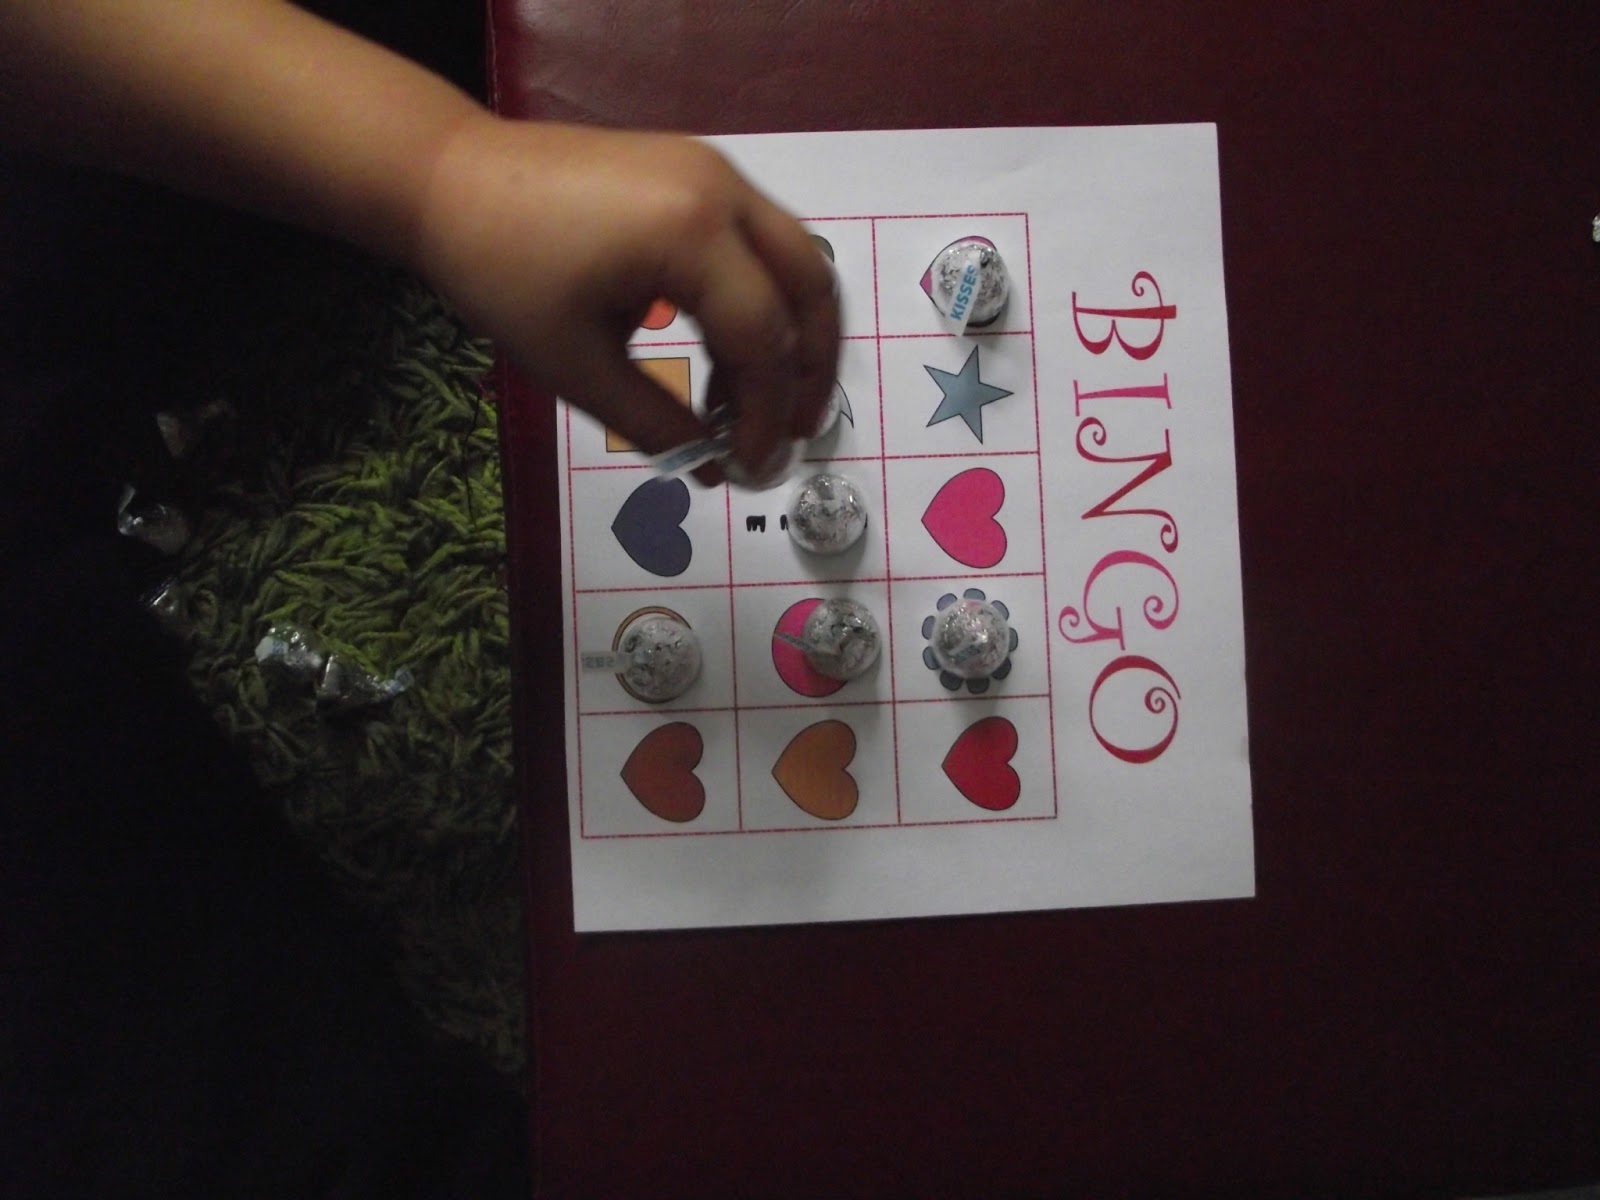
We played a few rounds of BINGO and used more Kisses for markers instead of Bingo dabbers. I made the sheet myself and chose to do shapes and colours instead of images. It was fun (Toddler Bee kept shouting BINGO!!) but it's also a good way to buff up on colours/shapes.


And, the foam hearts I used for the scavenger hunt, were recycled and used in a game of Fishing for Love! All you need to do is remove the Kisses from the hearts and add some metal paper clips. Then, I tied some string onto a wooden spoon and attached round magnets to the opposite end of the string. You can find adhesive backed magnets in craft or dollar stores.


Lunch was another LOVEly affair. I used a heart-shaped cookie cutter to make egg in a basket...but it sort of lost it's shape as it cooked. But, he also had a heart-shaped sandwich, and a cute little hot dog/cheese love struck heart.


After lunch, we made our "All the Things I Love" craft. It's similar to the Grinch graft we made over Christmas, only shaped like a heart and listing only things he loves. As always when I do an activity like this, it's fun to see the types of answers he comes up with. Apparently, he loves money...and orange motorcycles.


Then, we used some more craft foam to make a photo frame! Just make sure when you cut out the centre space you make it smaller than your photo so the picture doesn't fall through the opening!


And finally, after much begging I let Toddler Bee have some candies...but not before he sorted them by colour! Another great learning opportunity!


All of that brought us up to now and the kids are taking a break from all the excitement to watch a movie. It has been a wonderful day. Valentine's Day where people focus all on love and we were no exception to that. I am thankful to have a wonderful husband and kids. And I am very happy that I am able to have these fun days with my kids and help them create so many happy memories. The smiles on their faces makes it worth all the hot glue burned fingers, paint on furniture, and endless amounts of craft supplies that never seem to be contained to one place.

Happy Valentine's Day! I hope your day was filled with love and lots and lots of chocolate.

Beautiful flowers from the loves of my life!


My husband...a romantic with a sense of humour. 


Monday, February 11, 2013

Valentine Decortions


I love any excuse to decorate my home, especially since having kids. So, when February rolled around I was ready to bust out some Valentine's Day decorations! Some of our decorations come from stores, but most of them are homemade because:

1. It's cheaper
2. The kids can get involved
3. I can make sure I'm getting exactly what I want

Some of these were crafts I made myself and some were made with my children.


I started off with some Valentine's Day Subway Art. This is a pretty popular trend and something I had never seen until Pinterest (oh Pinterest, you have brought so much to my life!) But, Subway art is an easy way to decorate for the seasons and add a little something to an otherwise boring wall.

I made this on picmonkey.com and it only took about 10 minutes. Simple!


Download here


Hanging above my subway art I have a little LOVE garland that I come up with on a whim. The area between the subway art and where I have a clock seemed so blah. And, I have a 3M hook on the wall (you can see the top of it in the picture) that I wanted to try to cover up.

So, I took some pretty coloured scrapbook paper and cut out pendants. Then, I cut hearts out of computer paper and wrote the letters on in thick black marker. It's all attached together with red wire. Again, easy!


Hanging between two large wall photos I have another heart garland. Again, I found scrapbook paper in colours I liked and cut out hearts of various sizes. Then, I used a push-pin to poke holes on either side of the hearts and strung them onto a piece of craft wire.


The next two crafts were ones Toddler Bee helped with.

The first is a craft we've been doing since Toddler Bee was old enough to assist in craft time. I used to make melted crayon art when I was a kid and it's always a pretty/easy/fun addition to our home.

We made hearts for Valentine's Day and started out with crayons in pinks/reds.


If you have a pencil sharpener you can use that to shave the crayons into a bowl. We, oddly, don't have a pencil sharpener. But we do have a zest grater! I carefully let Toddler Bee grate our crayons into the bowl until we had a collection of crayon shards.


It always seems like such a little amount but it really goes far.


We spread our crayon shavings onto a sheet of wax paper then layered another sheet of wax paper on top of that. You'll want to place an old blanket or towel under the wax paper or the wax will leak out onto your surface.


You also want to thinly spread the shavings onto the paper. If you do too many the shapes will be heavy and the colours will blend together too much.


Then, just cut out your hearts and string them up! That small bowl of crayon shavings gave us all of these hearts!

Finally, we made a Valentine's Lantern.

For this, you need some white glue mixed with water, a glass jar (label removed) and tissue paper in white, red, pink, and purple. Oh, and a tray for catching all the drips!

I cut the white tissue paper into squares and the coloured papers into hearts.


Dip your white tissue paper into the glue and form a layer on the glass jar. I was working with a toddler here so there were a fwe instances where he pressed too hard or added too much glue/water and the paper tore. It's not a big deal of that happens! You can smooth it out with your finger or add another layer.


After the layer of white paper we repeated with the coloured hearts. We didn't wait for the white layer to dry before doing this so, again, be careful of rips and tears.


You can keep going until the entire thing is covered and no white is showing but Toddler Bee stopped at this point. Let it dry and then add a tealight to it and ta-da! You can tie ribbon around the rim, too!


Valentine's Day Love Lab

It's been almost a month since I last posted here! Funny how time seems to fly so quickly. We are well into February now and Valentine's Day is just around the corner. So, The Bee Household has been getting into the spirit!

Last week a cold crept it's way into our home and has taken up residence. Everyone is sick and it's been making us not want to do much of anything. But, even when sick, the kids have a ton of energy and don't want to be sitting still.

So, this morning I woke up with a plan of action. It was rainy and cold out (not ideal weather for poorly kids) so we created...


Our Love Lab consisted of 5 experiments and took up the better part of the afternoon. Science experiments are always a hit with Toddler Bee because it usually involves making a mess. And I have learned over time not to stress over messes because they can always be cleaned up, but there are only so many opportunities to really have fun with your children before they grow up and move into the "real world".

Our first experiment was to make Love Rocks! It's really simple!

What You Need:

Baking soda
Food colouring
Water
Treasures
Vinegar

In a bowl, mix your baking soda and food colouring with water. It's best to add tiny amount of water at a time until you reach the perfect consistency. You want the "dough" to be wet enough to hold it's shape, but not so wet that you can't mold it. 

Then, form your dough into a ball with your "treasure" in the middle. We used glass rocks. You can let them dry or just use them right away. We used our right away.


We experimented with using a medicine dropped to slowly dissolve them and then dumped one right into a bowl of vinegar. The laughter this caused was contagious and Toddler Bee asked to repeat it again and again. But, instead of forming more balls we went an even easier route with...


Love Potions!

Again, all you need is some:

Baking soda
Vinegar
Food colouring
Sparkles/flower petals/any "potion" additions

In a glass, add some baking soda (a spoon full did it for us)
Then, add you "potion ingredients" to your vinegar and have your child pour it into the glass. 


After that, we moved on to the really messy part of our Love Lab...

Oobleck!

We've done this before and it has always been a hit. It's just as much fun for Toddler Bee as it is for me and I get my hands right in there!

All you need is:

Corn starch
Water
Food colouring (we used pink)
Any additives you want: We reused our jewels from activity 1 and added flower petals, spoons, toy cars, and whatever else Toddler Bee could get his hands on.

In a container, add water to cornstarch. You don't want it too runny but you need enough water so that all of the cornstarch is incorporated.

Toddler Bee started out using a spoon to mix and switched to his hands once it became too difficult.


Oobleck is so much fun! It's a liquid...it's a solid...it's addictive! Plus, it's easy to clean up because it washes away with water.


After making a big mess with our Oobleck I decided to just go for it and let the mess continue. So, we moved onto Big Bubbles!

This is another easy to setup experiment that elicits plenty of fun!

All you need is:

A pie plate
A straw (can you believe we didn't have a single straw in our house? We used a medicine dropper without the plunger)
Dish soap or bubble solution (or a combo of both!)
Food colouring (we did purple)
Water

Add your water and food colouring to the pie plate along with some bubble solution. Then, give your child the straw and have them blow into the bubble mixture. Toddler Bee thought this was amazing and kept trying to make bigger and bigger bubbles. He thought it was wonderful that he could stick his hand in the bubbles and they would stick to him. Plus, because we used dish soap, it helped clean the Oobleck off his hands! Two birds, one stone!


Our final experiment for the day was A Secret Message, which we made for Daddy Bee since he was working all day and missed out on our Love Lab.

All that is required of this is: 

A white crayon
Water with food colouring in it
White paper

On your paper, write your message in white crayon. Then, give the message to your intended and have them paint the coloured water onto it. Watch as your message slowly appears like magic!


It was the perfect way to spend the day because it kept the kids from sitting and watching movies all day; but, it didn't require much running around (which is no bueno for sicky kids).


I will also add that we attempted  to colour flowers, but that didn't turn out. I had a bouquet of flowers and thought it would be interesting for Toddler Bee to place cut flowers in a glass of coloured water to see them change colour. When I asked him what he thought would happen he said, "Nothing."

Looks like he was right...


Thursday, January 26, 2012

Valentine Window Hearts

I was going to make these yesterday, but we were out of wax paper. Today my two month old got her first round of vaccines, so we're having a day at home and this craft was perfect for that!

What You Need:

Wax paper
Crayon shavings in preferred colours
An iron
Scissors
Ribbon or string

How To Make It:

Using a knife, scissors, or pencil sharpener, shave some crayons until you have a decent little pile. This is how much I made. I know it doesn't look like a lot but a little goes a long way.


Then, place a towel down on a hard surface, plug in your iron (to medium-high or high heat) and then tear off a long strip of wax paper.

Sprinkle a thin layer of crayon shavings onto this sheet of paper. You really only need a thin layer because too many will run together into a brown-ish blob.


Cover with another towel and then go over this several times with your iron. Make sure you turn back the towel to check on the melting progress.


I usually remove the towel and go over this once or twice just on the paper. This can leave a colourful residue on the iron, so be careful. Definitely don't do this craft on your table without a towel underneath...I made that mistake once and it left a lovely red stain on my coffee table.


Then, use a pencil, pen, or (in my case) a crochet hook to draw some hearts onto your sheets. I use the crochet hook because it only leaves an imprint on the paper, not an actual ink mark.


Once you have all your hearts cut out punch a hole in the tops and bottoms of each one and then string onto your ribbon or string.


Then, simply hang them from your desired location!