 Easter is this weekend and we have been busy with our Easter crafting. I have been looking all over Pinterest for Easter craft ideas but have been coming up rather short. It was difficult to find crafts specifically for toddler-aged children; and the ones I did find didn't seem like they would be interesting (read: messy enough) for my kids. So, I took some ideas of crafts we have done before and gave them an Easter spin. And from that I got:
1. An Easter Lantern!
We made something similar for Valentine's Day and it turned out so nice that we decided to do an Easter/Spring one. It's simple to make and requires few ingredients.
What You'll Need:
White tissue paper
Other colours of tissue paper (I used yellow, pink, green, purple)
White glue and water
White paper or craft foam and a pink crayon
A glass jar with label removed
The How-To:
Mix some white glue with water in roughly equal parts.
Cut your coloured tissue paper into your desired shape. I made them into flowers so it can still be used during Spring.
Cover your jar in your white tissue paper. It's OK if you get rips/tears/wrinkles, this is just a base coat. We found it is easier to lightly dip your tissue paper in the glue mixture rather than painting it on with a brush.
Add your coloured flowers on top of the white (don't wait for the white to dry). Again, we found it easier to dip the tissue paper in the glue mix and press it onto the jar. Then, you can wet your finger with the glue mix to smooth it down.
You can have as few or as many coloured pieces as you like. We covered ours. For the paler colours you can double or triple up the tissue paper layer to make the colour stand out more.

Then, just cutout a pair of bunny ears on a band, wrap around the mouth of the jar, and tape at the back. This way, the bunny ears are removable so you can use the jar after Easter is over!
2. Q-Tip Egg Paintings:
What You'll Need:
Paper
Black marker
Paints
Q-tips
The How-To:
This one is pretty simple! You just draw an egg shape on a piece of paper and then give your kids some paints and q-tips! I added our paints to an ice cube tray.
This is a great way to work on fine motor skills with your kids!
 |
| Look at those adorable baby hands! |

 |
| So, my egg-drawing skills aren't THAT awesome... |
3. Marble Paint Eggs!
This one is great for my littles because they both like to make a mess!
What You'll Need:
White shaving cream (NOT gel!)
Liquid paints
A toothpick or skewer
Paper
The How-To:
Add shaving cream to a container. You don't need a lot to make this work! Then, add your paints in drops. You don't want too much because then the colours will bleed together.

Let your child swirl the colours with the skewer, making sure not to over mix or you'll end up with a yucky brown/grey.
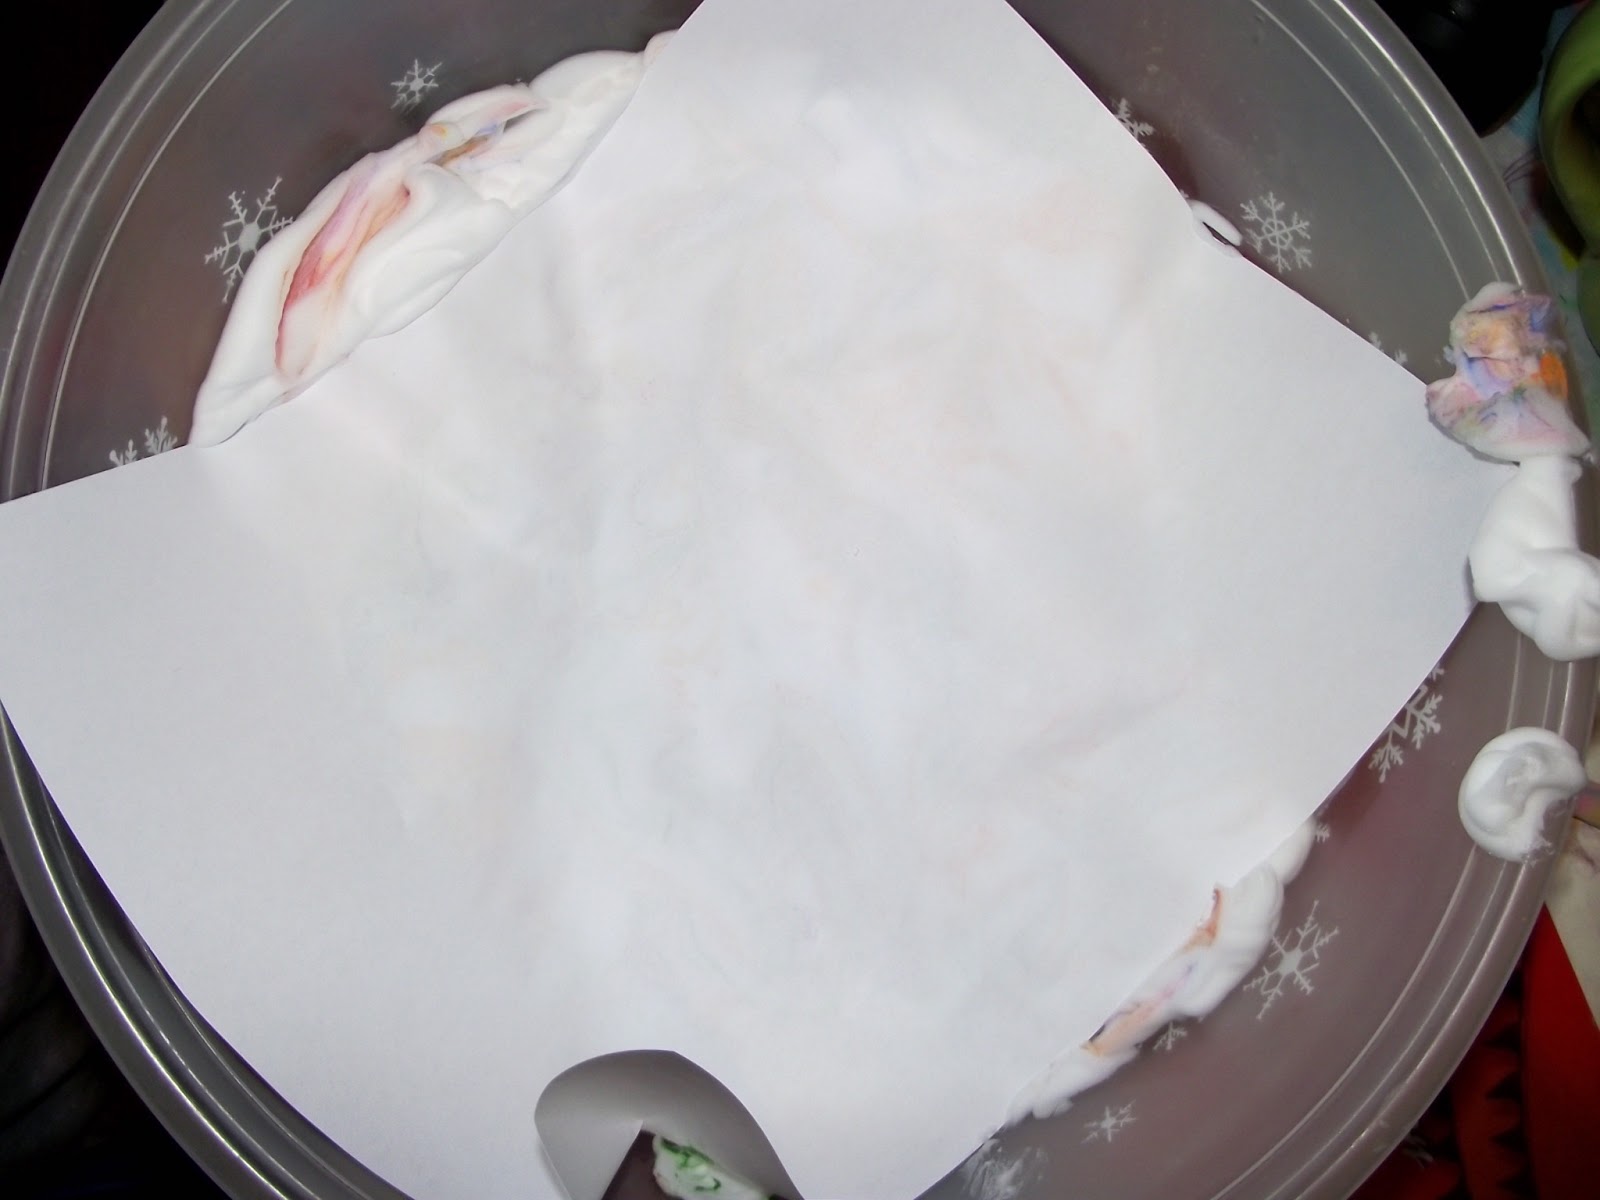
*You can cut your paper into an egg shape before you press it but I didn't do that.*
Press your paper into the shaving cream and carefully remove it. Now, there are conflicting reports on what you do next. Some people scrape the foam off with a squeegee right away; others, let it dry and then wipe it off. I let mine semi-dry and then wipe it off carefully with a spatula or squeegee.
Then, just cut your paper into egg shapes (or anything else Easter-y!) and ta-da!

4. Handprint Easter Lily
I first did this craft with Toddler Bee when he was but a wee baby. It's a cute craft but one that involves more parent work when you have smaller children.
What You'll Need:
Green pipe cleaner or skewers coloured green
Yellow pipe cleaners or strips of yellow paper
Clear tape
Optional: A small terracotta pot and green tissue paper (or Easter basket grass)
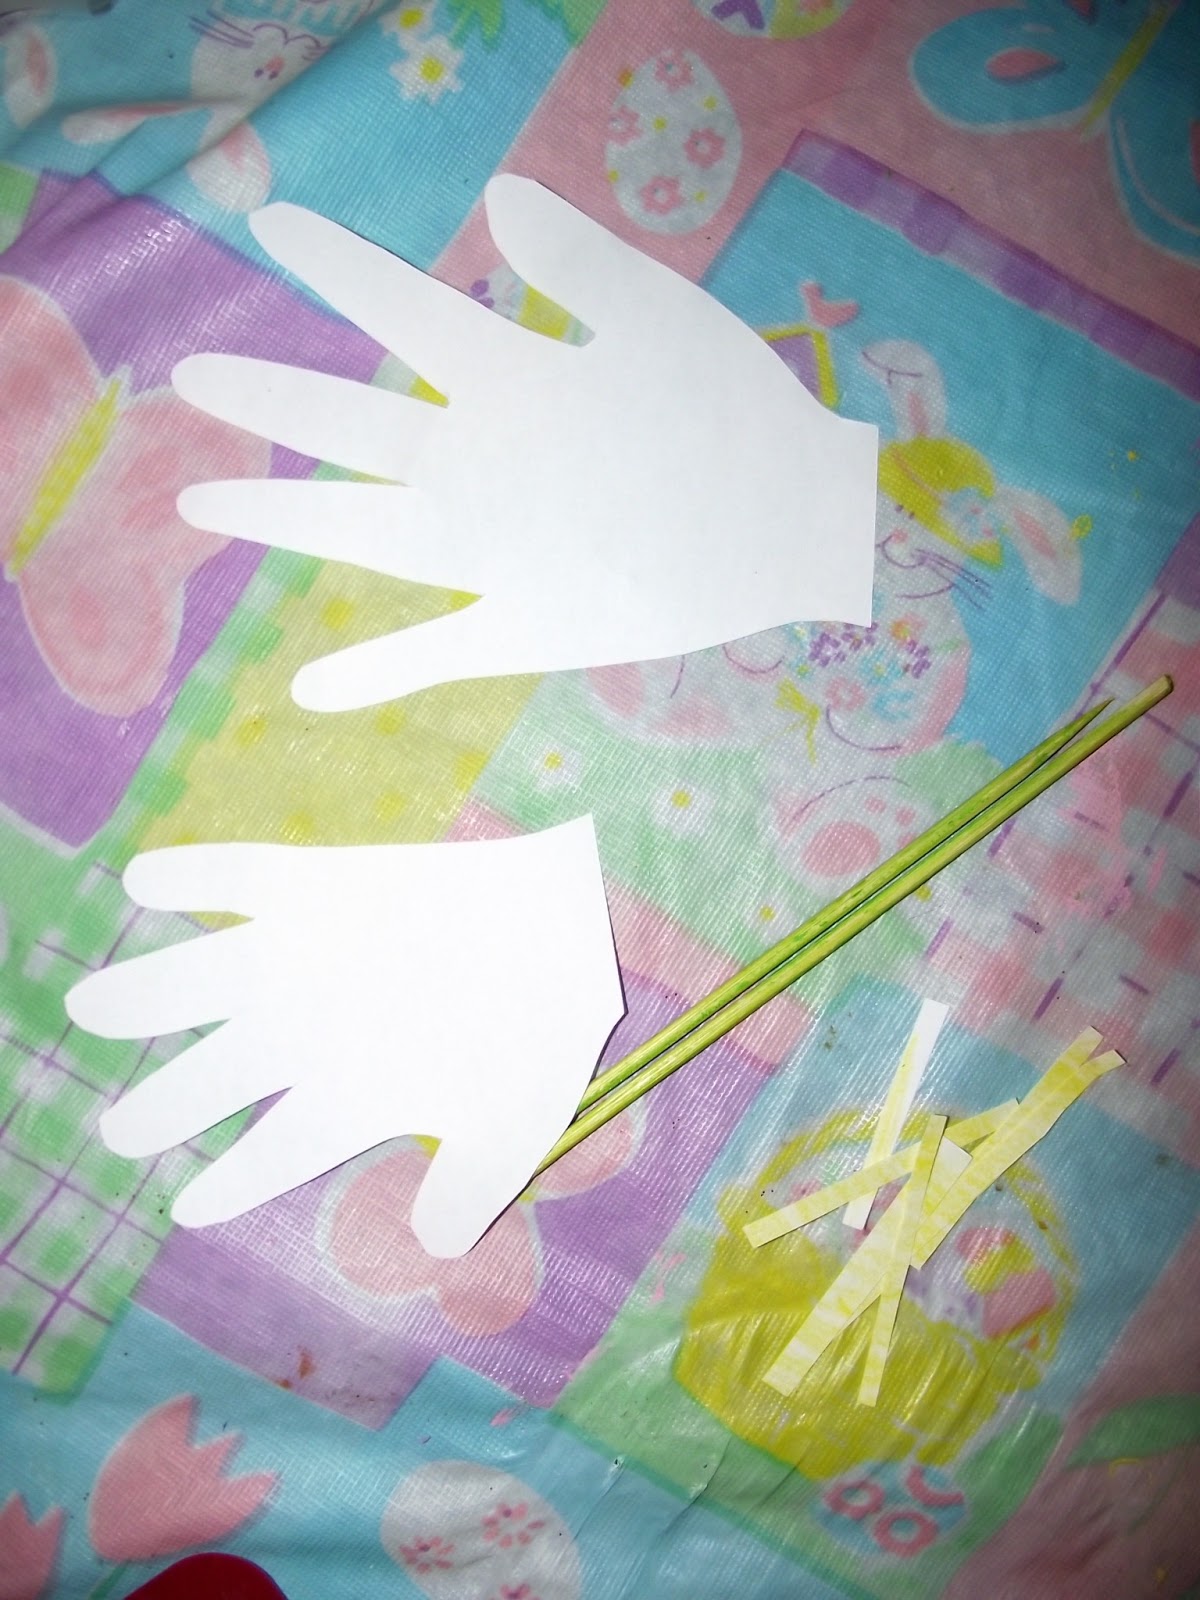
The How-To:
On your white piece of paper trace your child(ren)'s handprint. Make sure you extend the handprint down a ways, almost as if you are drawing the wrist. This makes it easier to wrap around your "stem". It also helps if you make the "wrist" narrower than normal.

Tape your yellow strips of paper to the end of your skewer (or twist yellow pipe cleaner around a green one). Then, wrap your cut-out handprint around the stem. You want to make sure it's not too tight but it needs to be secure. I tried to avoid overlapping any of the fingers, too. Then, tape around to make sure it stays in place.
 |
| Yes, I know there was a lot of junk on the table when I took this picture. |
Curl the fingers on a pencil. I only curled them to about halfway down the finger.
I trimmed the skewers and then stuck them into a mini terracotta pot and added some green tissue paper. And voila! You have some lovely Easter lilies. You could make an entire bouquet of these if you wanted, or even give them out as little gifts.
I prefer to use the skewers rather than pipe cleaner because it seems sturdier and holds up better to inquisitive children.


