Showing posts with label crayon craft. Show all posts

Thursday, January 26, 2012

Valentine Window Hearts

I was going to make these yesterday, but we were out of wax paper. Today my two month old got her first round of vaccines, so we're having a day at home and this craft was perfect for that!

What You Need:

Wax paper
Crayon shavings in preferred colours
An iron
Scissors
Ribbon or string

How To Make It:

Using a knife, scissors, or pencil sharpener, shave some crayons until you have a decent little pile. This is how much I made. I know it doesn't look like a lot but a little goes a long way.


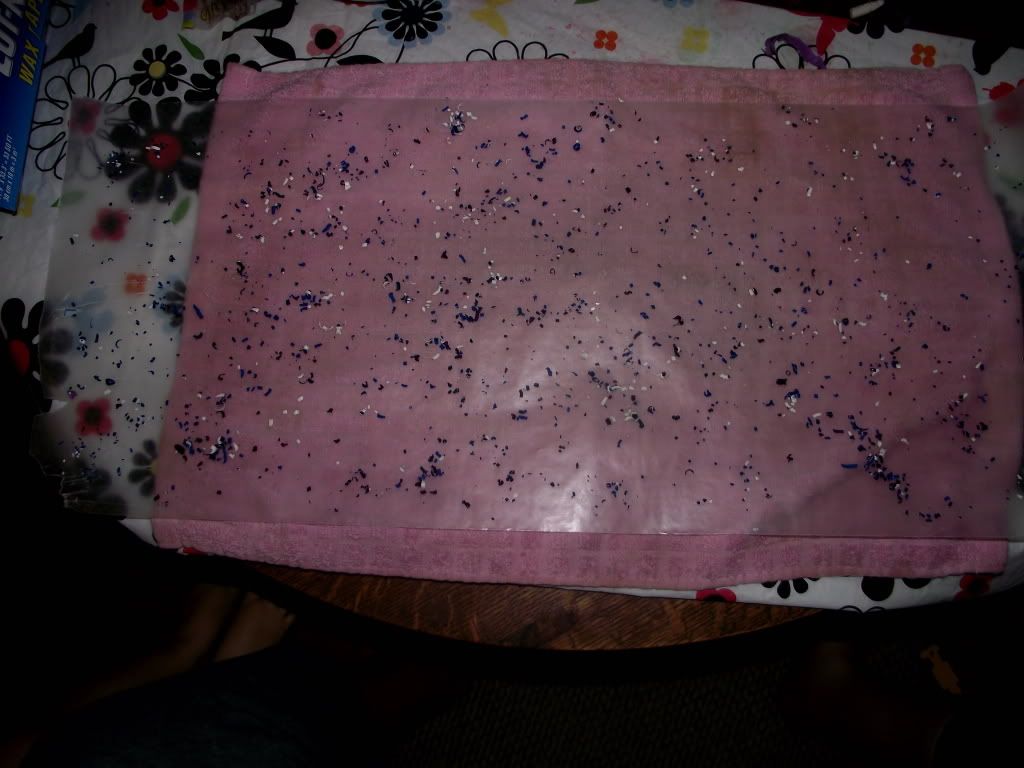
Then, place a towel down on a hard surface, plug in your iron (to medium-high or high heat) and then tear off a long strip of wax paper.

Sprinkle a thin layer of crayon shavings onto this sheet of paper. You really only need a thin layer because too many will run together into a brown-ish blob.


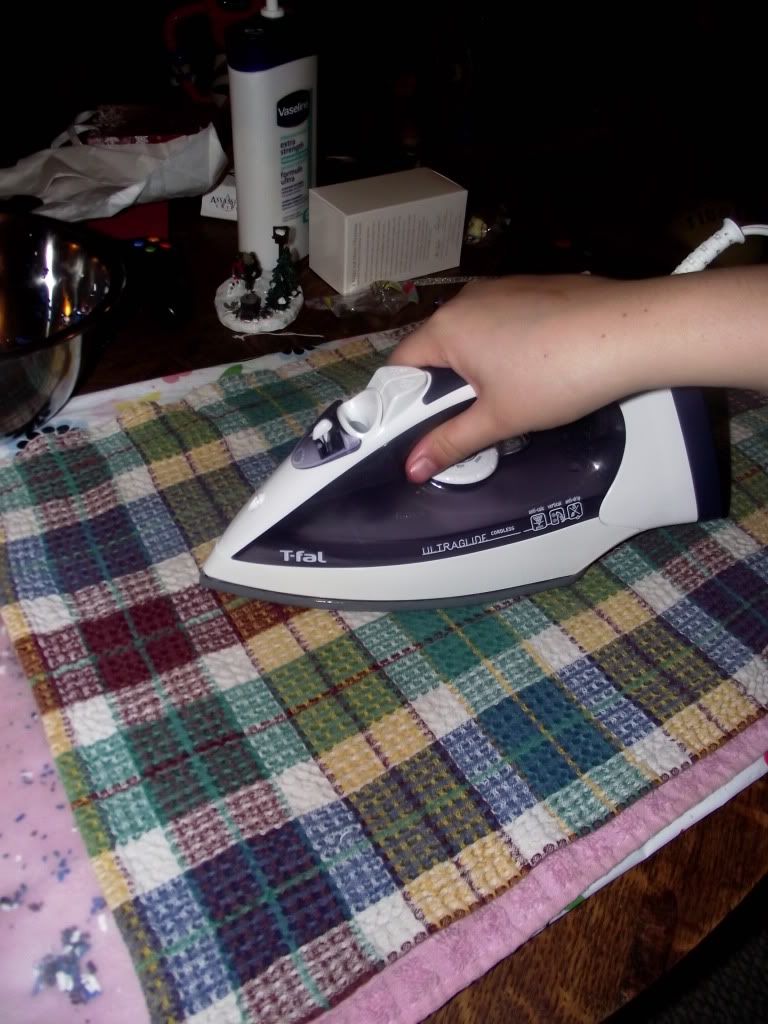
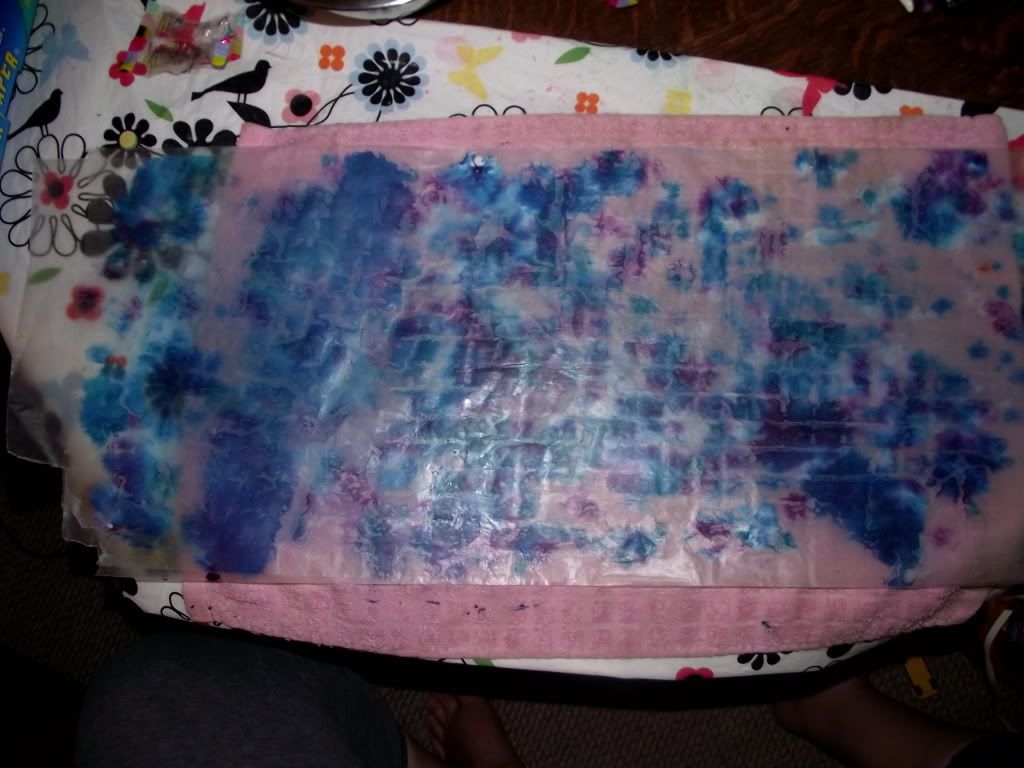
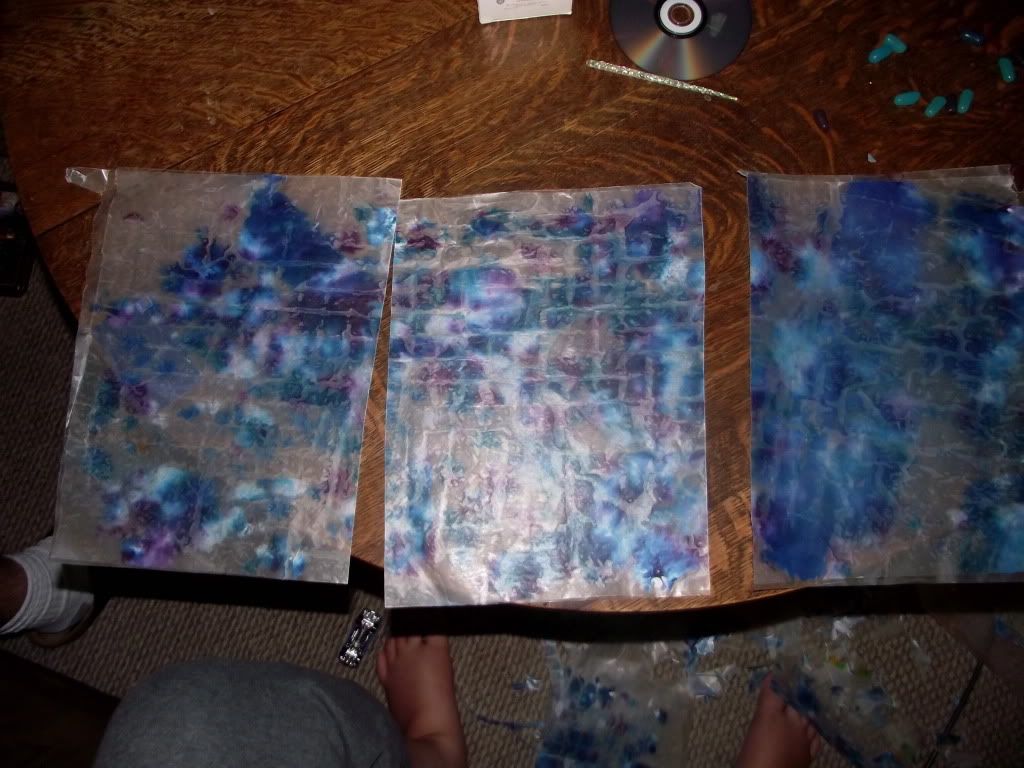
Cover with another towel and then go over this several times with your iron. Make sure you turn back the towel to check on the melting progress.


I usually remove the towel and go over this once or twice just on the paper. This can leave a colourful residue on the iron, so be careful. Definitely don't do this craft on your table without a towel underneath...I made that mistake once and it left a lovely red stain on my coffee table.


Then, use a pencil, pen, or (in my case) a crochet hook to draw some hearts onto your sheets. I use the crochet hook because it only leaves an imprint on the paper, not an actual ink mark.


Once you have all your hearts cut out punch a hole in the tops and bottoms of each one and then string onto your ribbon or string.


Then, simply hang them from your desired location!

Tuesday, January 24, 2012

Crayon Crafts

When I was a child I used to love to make melted crayon pictures. I forgot all about that until I saw an idea on the Martha Stewart website that reminded me. So, for each season, I now make melted crayon crafts to hang in my living room window. The method is easy but it`s more of an adult craft (if you have little kids like me). My toddler usually helps me pick the crayon colours but I do the rest.

The method is the same any time you make this; the only things you change are the colours you use and the shapes you cut.

Step 1: Using a pencil sharpener or knife shave some crayons until you have a decent pile of colourful shavings (this is great for those bits of broken crayon you may have).

Step 2: Take a long sheet of wax paper and lay it on a towel on a table. Sprinkle a thin layer of shavings on this. You don't want too thick of a layer because then it will all blend into brown.

Step 3: Place another sheet of wax paper on top and cover with another towel. Then, use your iron on medium heat to go over the towel. You'll want to lift the towel every so often to see where you need to melt spots and how it's blending together. Don't go over it too many times of it will blend too much.

Step 4: Once it has cooled cut it into smaller strips and then cut these strips into whatever shape you are wanting. I like leaves for fall, snowflakes for winter, hearts for Valentine's Day, flowers for spring and shells for summer. Then I just poke holes in them, add string and hang them up!

They look lovely when the sun streams through the window.