Last week a cold crept it's way into our home and has taken up residence. Everyone is sick and it's been making us not want to do much of anything. But, even when sick, the kids have a ton of energy and don't want to be sitting still.
So, this morning I woke up with a plan of action. It was rainy and cold out (not ideal weather for poorly kids) so we created...

Our Love Lab consisted of 5 experiments and took up the better part of the afternoon. Science experiments are always a hit with Toddler Bee because it usually involves making a mess. And I have learned over time not to stress over messes because they can always be cleaned up, but there are only so many opportunities to really have fun with your children before they grow up and move into the "real world".
Our first experiment was to make Love Rocks! It's really simple!
What You Need:
Baking soda
Food colouring
Water
Treasures
Vinegar
In a bowl, mix your baking soda and food colouring with water. It's best to add tiny amount of water at a time until you reach the perfect consistency. You want the "dough" to be wet enough to hold it's shape, but not so wet that you can't mold it.
Then, form your dough into a ball with your "treasure" in the middle. We used glass rocks. You can let them dry or just use them right away. We used our right away.

We experimented with using a medicine dropped to slowly dissolve them and then dumped one right into a bowl of vinegar. The laughter this caused was contagious and Toddler Bee asked to repeat it again and again. But, instead of forming more balls we went an even easier route with...


Love Potions!
Again, all you need is some:
Baking soda
Vinegar
Food colouring
Sparkles/flower petals/any "potion" additions
In a glass, add some baking soda (a spoon full did it for us)
Then, add you "potion ingredients" to your vinegar and have your child pour it into the glass.

After that, we moved on to the really messy part of our Love Lab...
Oobleck!
We've done this before and it has always been a hit. It's just as much fun for Toddler Bee as it is for me and I get my hands right in there!
All you need is:
Corn starch
Water
Food colouring (we used pink)
Any additives you want: We reused our jewels from activity 1 and added flower petals, spoons, toy cars, and whatever else Toddler Bee could get his hands on.
In a container, add water to cornstarch. You don't want it too runny but you need enough water so that all of the cornstarch is incorporated.
Toddler Bee started out using a spoon to mix and switched to his hands once it became too difficult.

Oobleck is so much fun! It's a liquid...it's a solid...it's addictive! Plus, it's easy to clean up because it washes away with water.


After making a big mess with our Oobleck I decided to just go for it and let the mess continue. So, we moved onto Big Bubbles!
This is another easy to setup experiment that elicits plenty of fun!
All you need is:
A pie plate
A straw (can you believe we didn't have a single straw in our house? We used a medicine dropper without the plunger)
Dish soap or bubble solution (or a combo of both!)
Food colouring (we did purple)
Water
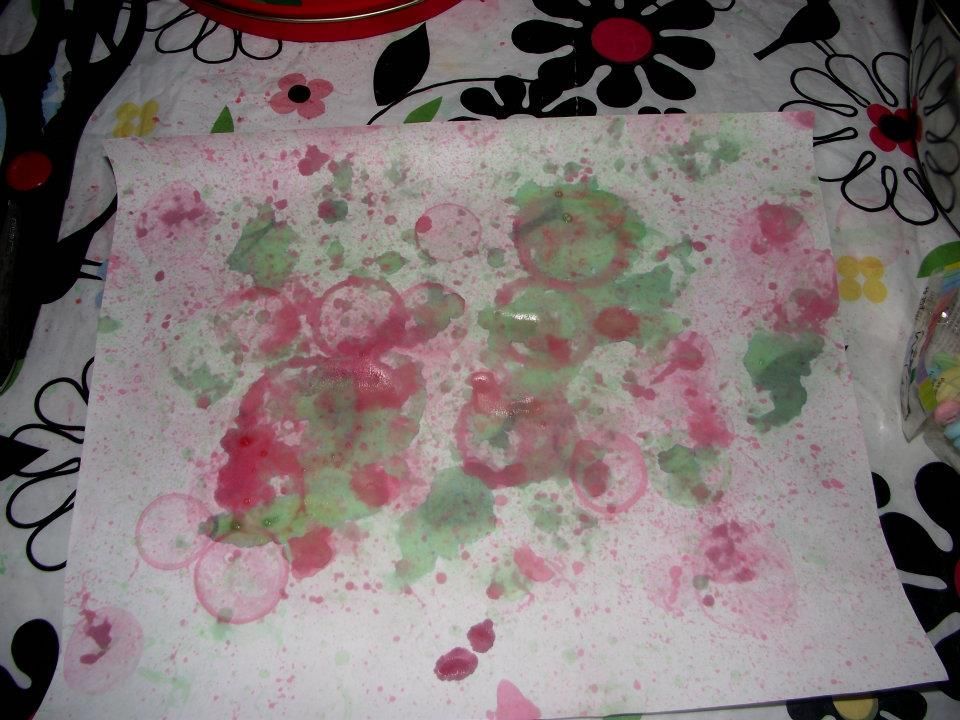
Add your water and food colouring to the pie plate along with some bubble solution. Then, give your child the straw and have them blow into the bubble mixture. Toddler Bee thought this was amazing and kept trying to make bigger and bigger bubbles. He thought it was wonderful that he could stick his hand in the bubbles and they would stick to him. Plus, because we used dish soap, it helped clean the Oobleck off his hands! Two birds, one stone!

Our final experiment for the day was A Secret Message, which we made for Daddy Bee since he was working all day and missed out on our Love Lab.
All that is required of this is:
A white crayon
Water with food colouring in it
White paper
On your paper, write your message in white crayon. Then, give the message to your intended and have them paint the coloured water onto it. Watch as your message slowly appears like magic!


It was the perfect way to spend the day because it kept the kids from sitting and watching movies all day; but, it didn't require much running around (which is no bueno for sicky kids).
I will also add that we attempted to colour flowers, but that didn't turn out. I had a bouquet of flowers and thought it would be interesting for Toddler Bee to place cut flowers in a glass of coloured water to see them change colour. When I asked him what he thought would happen he said, "Nothing."
Looks like he was right...