Today was the official first day of Spring! Unfortunately, winter is making one last stand and we woke up this morning to this:
 |
| Boo! |
Temperatures hovered around the -6C/21F range; so, not exactly spring weather. I am very ready to be done with snow and winter but it doesn't look like we'll be in for any warm weather for the next little while.
But, never one to let the weather get us down, I decided to forge ahead with some Spring-themed crafts!
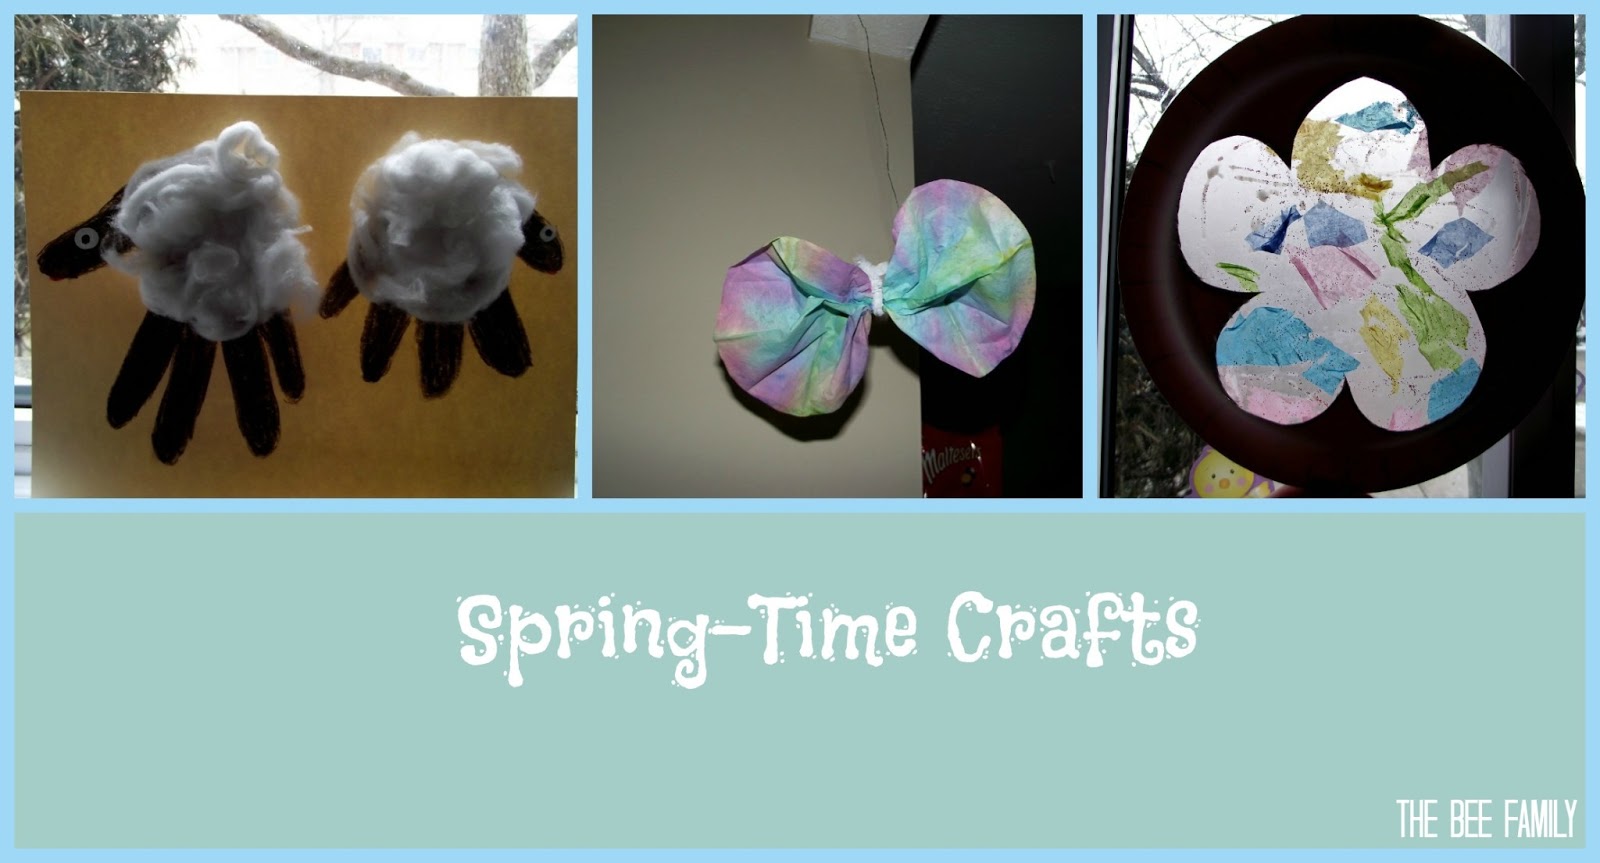
We started with an adorable handprint Spring lamb. This craft is easy-peasy and requires few materials. You can either use black paint for the hands or go the route I did and trace and fill-in with crayon.
 |
| Look at those cute little hands! Baby Bee has such chubby little fingers :) |
Add some eyes and a smile (which is faint because I used a marker, I may go over it with paint). And TA-DA! An adorable lamb.
Next, we moved onto a craft designed to bring a little colour into our home. We made this last year but went a slightly different route this time.
Coffee Filter Butterflies
What You Need:
Plain white coffee filters
Bowls with a small amount of water and food colouring (the more water the paler the colours)
A baking sheet for drying
Pipe cleaners
Craft wire
The How-To:
Fold your coffee filters in half and then in half again two more times. You should end up with a small triangle.
Dip your folded filter into your food colouring and water mixture. I used only a splash of water (no more than a table spoon) and the colours were really bright. I don't recommend using watered down acrylic paint for this because the colours don't really show up.
You can use a dropper to create designs on the paper or just dunk it into the colours. Toddler Bee was pretty methodical with his dying method.
Once you have done all your filters place them on a tray to dry. I leave them folded up and then place them in my oven on the lowest temp. to help the drying process speed up. You can unfold them once they begin to dry. Just keep an eye on them because you don't want any burn marks!
 |
| Look at those bright colours! |
To make them into butterflies you can use the method we did last year or this one:
Fold your dry and dyed coffee filter accordion style. Then, pinch the folded filter in the middle and tie with a small piece of wire.
 |
| Folded like an accordion. |

Take a piece of pipe cleaner and fold it in half around the middle of the filter and twist it together until you have about 1/4 inch of pipe cleaner left on either side. These are the antenna. Unfold the butterfly wings, being careful not to rip the paper.

Then, just tie some string or wire around the pipe cleaner and you are ready to hang your butterflies!
 |
| All the pretty butterflies ready to be hung up! |
 |
| Side note: I've never understood why they are called butterflies. What's so buttery about them? I think they should be flutterbies (flutterby?) |
Our final craft was to make a Spring-ish sun catcher since we still had our Christmas one in the window.
This is another easy craft with few ingredients.
You just need:
A paper plate
Wax paper
Scissors
Tissue paper in various colours
Glue
Glitter
I drew a flower onto my plate and cut it out using scissors (I started it with an Xacto blade). Then, take your piece of wax paper and smear your glue all over. In previous seasons we've made a water/glue mixture and used that for this craft but this time we decided to just go with straight glue. It seemed to work just as well!
Rip your tissue paper into small pieces and press onto the glue. Add some glitter, too!
Then, tape or glue the wax paper to the paper plate and trim off an excess wax paper.
Add some string and you are ready to hang in a window!

It may not be Springtime outside but in The Bee Household it's looking much more cheerful!


