We made up for our lack of crating today with an entire day dedicated to crafts and sensory play. My toddler didn't know what hit him and had a blast doing one thing after another.
Warning: some of these crafts are a little mess. But, in this house we aren't afraid of messy hands, tables, or floors.
We started our day making
White Mud!
What You Need:
1 roll (or less) of toilet paper
1 bar of soap
Warm water (warm enough to melt soap)
Cheese grated
Container (I used a 9x13 baking dish)
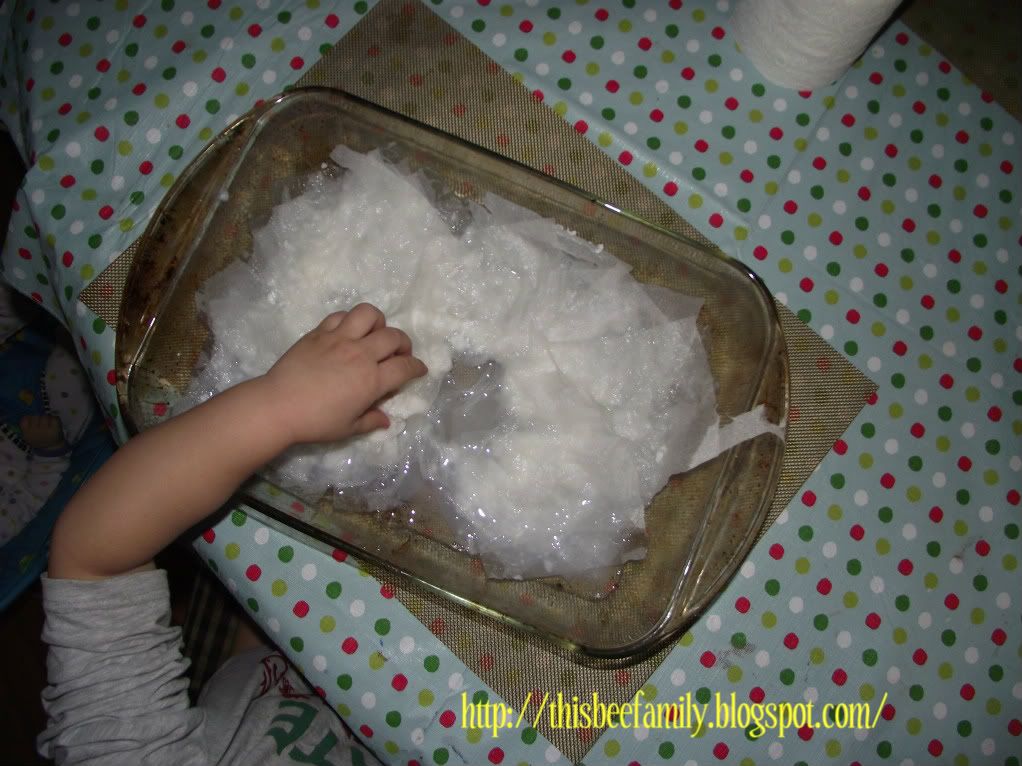
This craft was the perfect way to get rid of one of those hotel soaps I always have around but never use. Grate your bar of soap into a bowl. Then, give your child some pieces of toilet paper and have them rip it into smaller bits. Mix your toilet paper bits into your bowl and then add water. Let your kids mix this with their hands until it becomes thick, you don't want it to be too soupy.
I turned mine out into the baking sheet and let my toddler muck around in it! This is a great sensory tool and even I was getting my hands in there. It's slimy, soft, warm and mucky all at the same time!
Next...
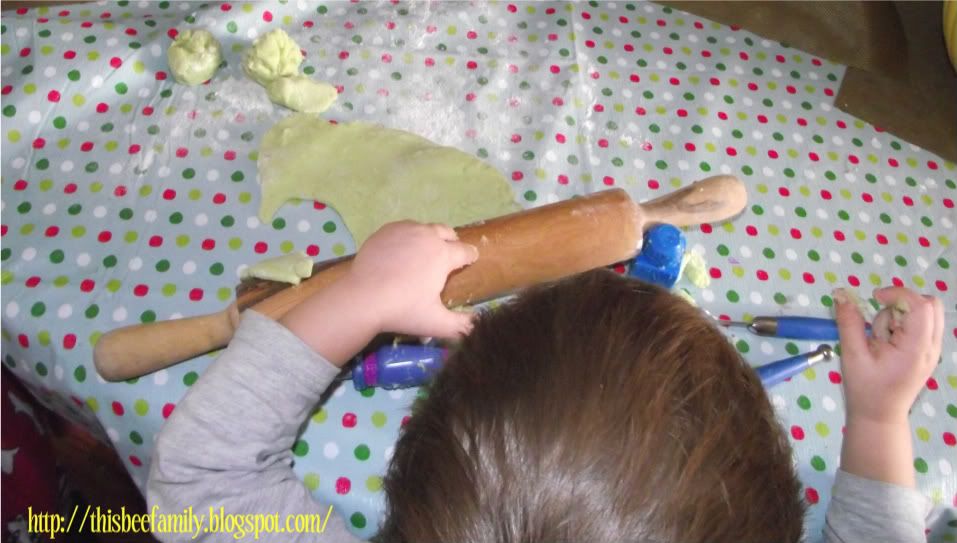
We played with Green Playdough!
I used my no-cook dough recipe and gave my toddler forks, blocks and whatever other toys he wanted to use to play!
Just before lunch we tried our hands at
Marble Artwork
What You Need:
A 9x13 roasting pan
Shaving foam (white)
Paints
Popsicle stick
White paper
How you do it:
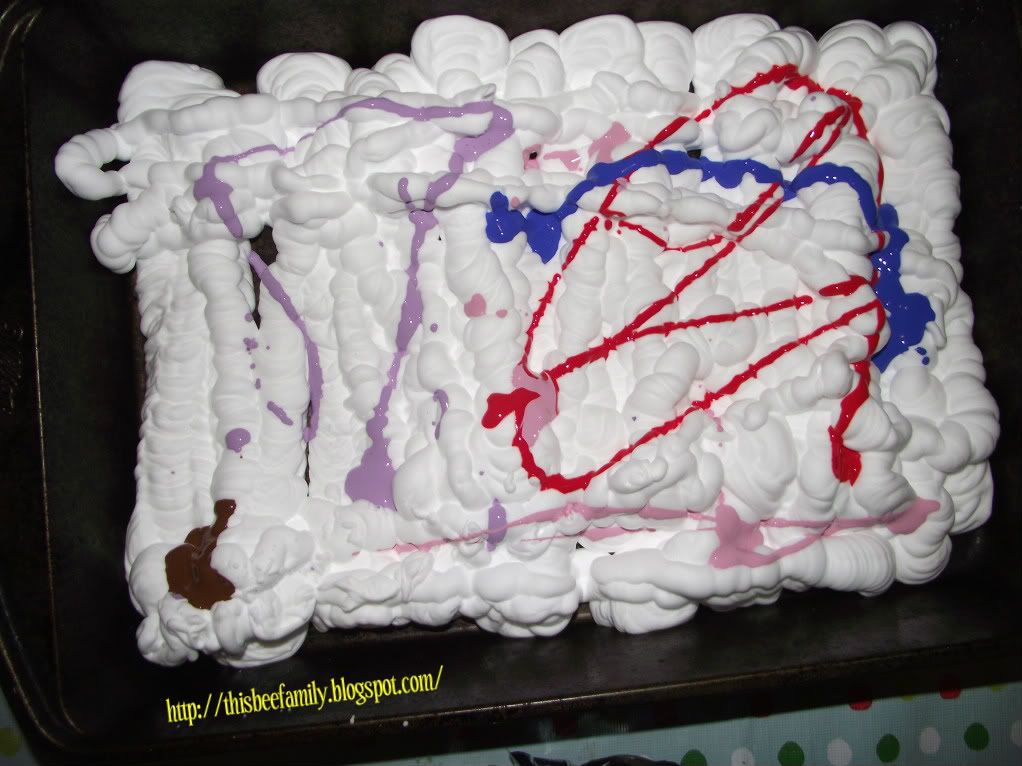
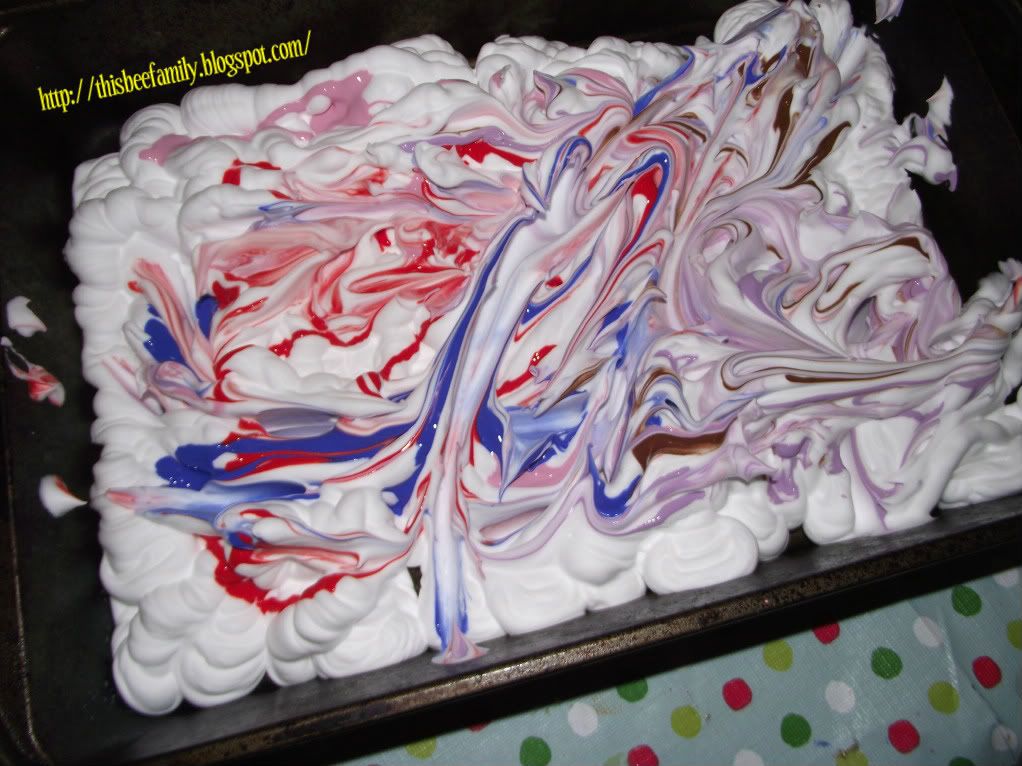
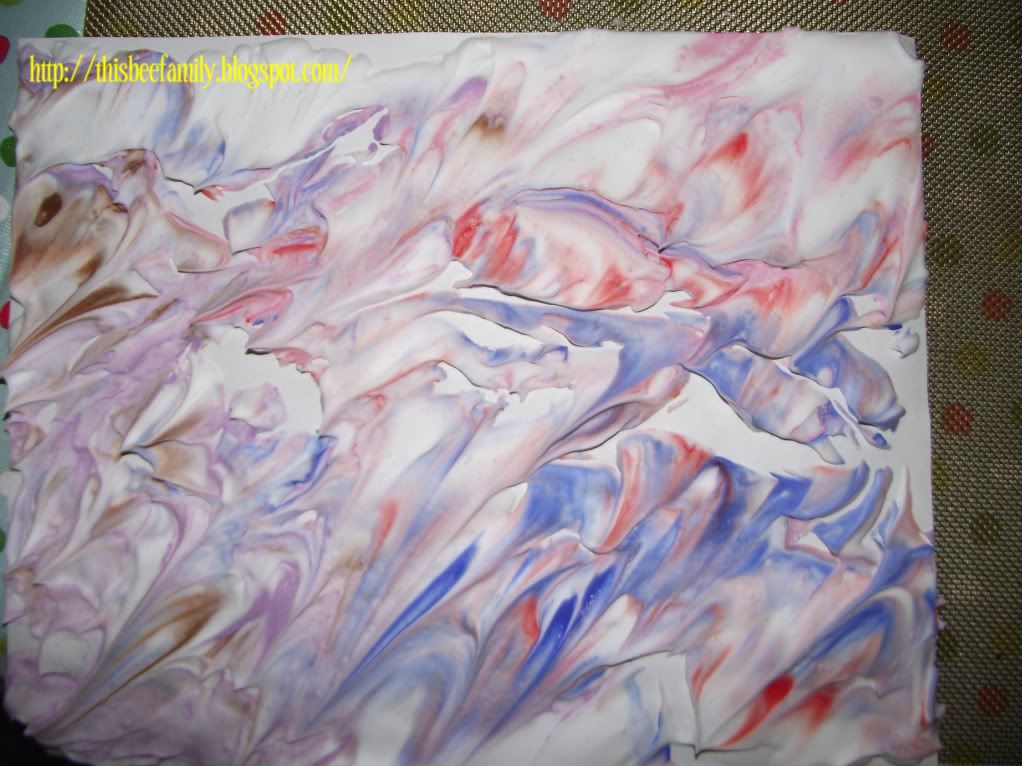
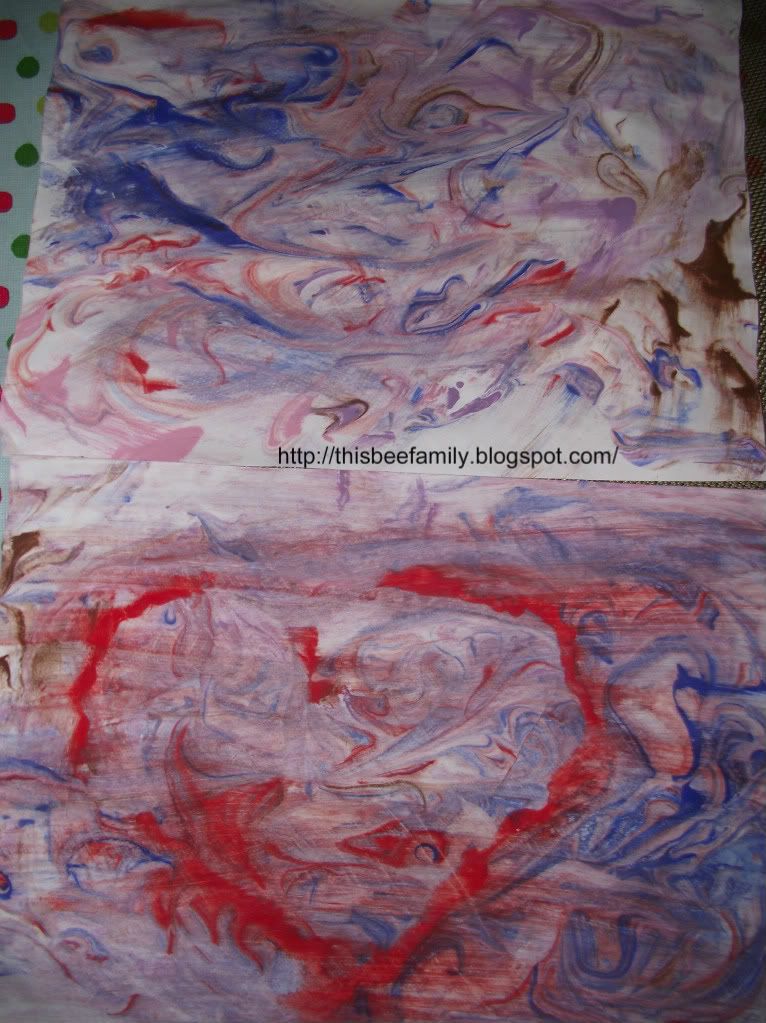
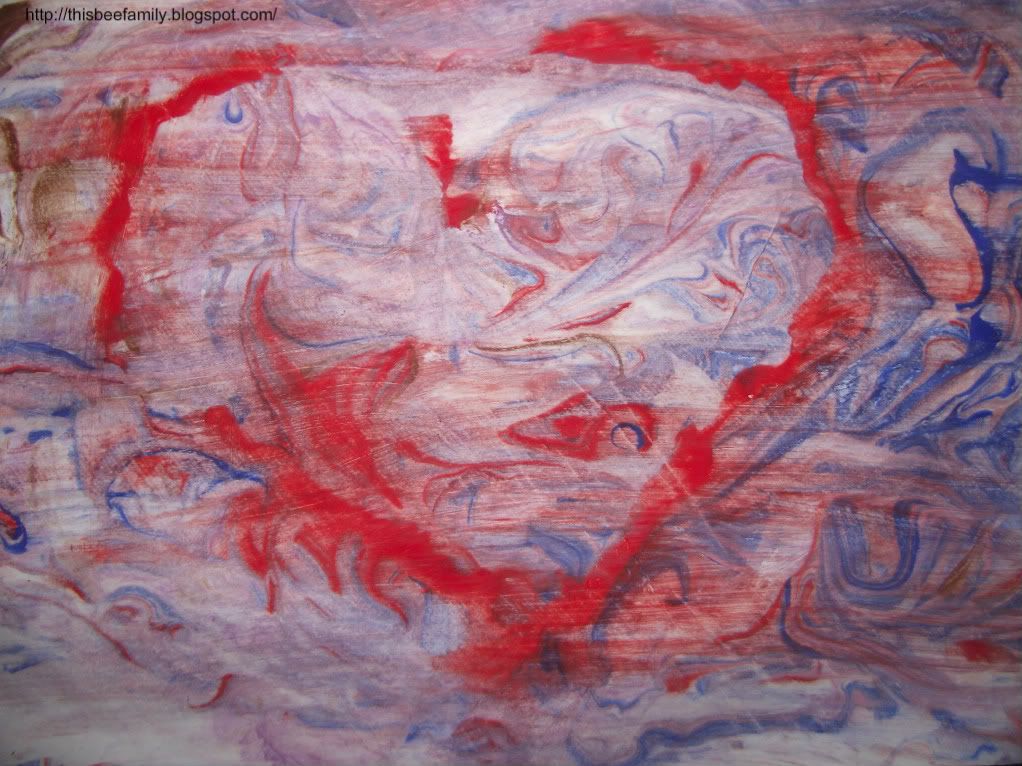
Spray a layer of shaving foam into your pan then drop some globs of paint onto the shaving foam. Give your toddler a popsicle stick and let them mix the colours together. Then, take your sheet of paper and press it into the shaving foam. You'll be able to see the colours seeping onto the page.
Peel it off and leave it to dry for at least 10 minutes (mine were closer to 15 since I was getting lunch ready). Then, using paper towel, wipe the shaving foam off the paper!
Once it dries completely you will have a lovely marbled painting!

After lunch we got to play with one of my son's favourite things...bubbles! Well, it's actually
Foam! The link to
this site was posted on a Mom forum I'm a member of and I knew I had to try it with my son.
What You Need:
Liquid dish soap
Water
Measuring cup
Blender
Bowl
How You Make it:
I didn't measure anything with this recipe, it was all eyeballed. I simply squeeze some dish soap into my measuring cup and then added about the same amount of water. I would guess it was about 1/3 cup soap and 1/3 cup water. Mix together with a spoon and then dump into your blender.
Mix it until it becomes thick and foamy. The longer you mix it the thicker it becomes.
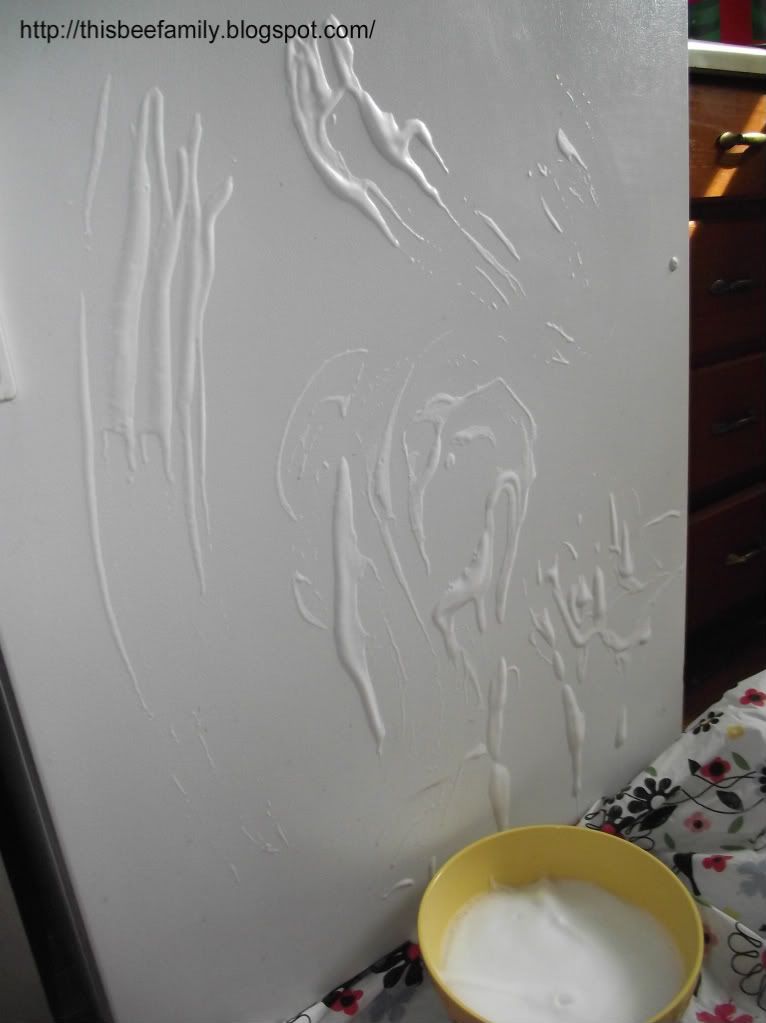
Then, turn it out into a bowl and set it on the ground with a plastic table cloth or towel underneath.
My son had a BLAST with this one! He played with his cars in it and then grabbed a cloth and scrubbed my fridge, dishwasher, and oven! He got to have fun and he cleaned for me. Win-win!
After the foam was gone I made him another batch....then another...then another!

I think this would be fun to play with in the bath, too, but maybe using body wash instead of dish soap.
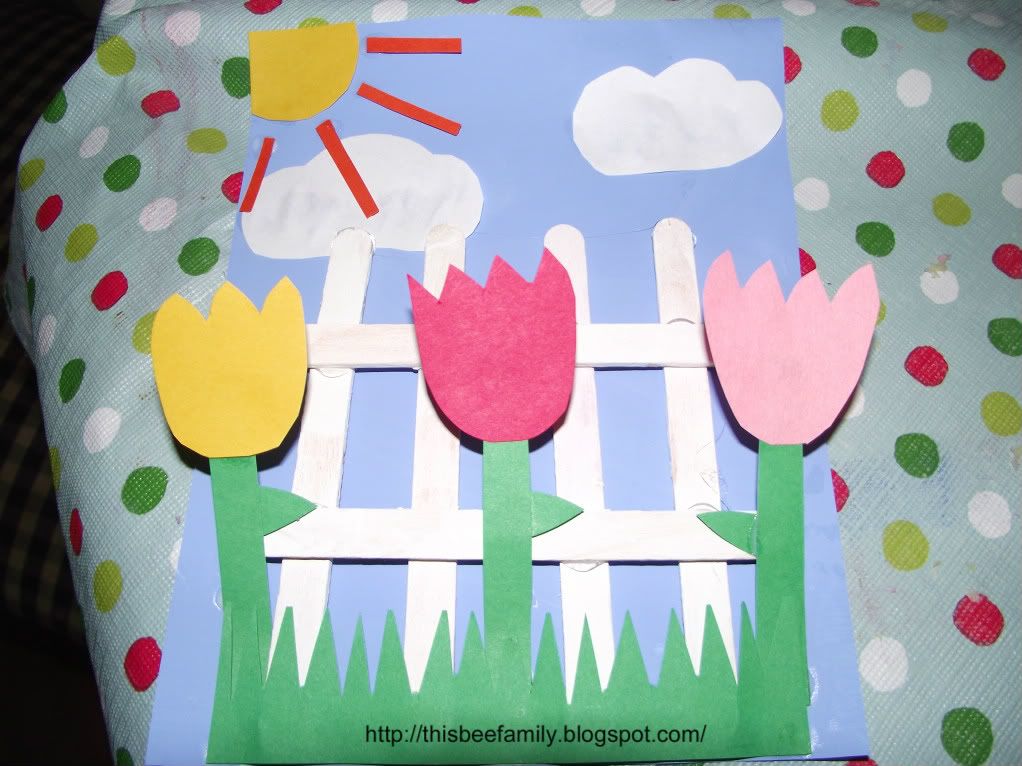
Our final craft of the day helped bring a bit of Spring into our home.
What You Need:
Popsicle sticks
White paint
Green paper
Blue paper (or white paper painted blue)
White paper
Red, pink, and yellow paper
Glue
Hot glue gun
How to Make it:
Paint your popsicle sticks white and leave to dry. Cut clouds out of your white paper and flowers out of your red, pink and yellow paper. Don't forgot to make stems and leaves out of green paper! (If you're painting white paper blue this is when you'll want to do it, so it can dry while you cut out your shapes.)
Cut out some grass from green paper and a sun (orange rays optional) out of yellow paper.
Once your popsicle sticks are dry you want to use your hot glue gun to glue them together to make a fence.
Glue your fence onto the blue paper using your glue gun. Then, glue on your green grass, flowers (with stems and leaves), sun, and clouds.
Ta-da! A lovely Spring picture!